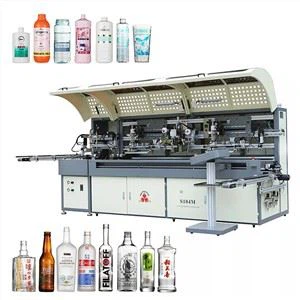
Screen printing operation process:
1. First check for opaque or flammable items on the printing equipment, then turn on the machine's main power supply, turn the power switch from green 0 to white 1, and confirm that the main power is turned on.
2. Open the compressed air and vacuum of the machine equipment to confirm whether it meets the pressure requirements, that is, whether the vacuum pressure is in the range of -0.65--0.7MPa, and whether the compressed air pressure is in the range of 0.6-0.8MPa.
3. Then wait for the screen printer's computer to start automatically, and the print control program will be loaded automatically after startup. If the screen printer's computer does not start automatically, then follow the steps below to start: Control program - click --Start--Program--baccini--Print.exe, etc., after the program starts, activate the auxiliary circuit, press The “AUXIZIARIES Starting” button on the lower control panel will see the factor table flash and you will hear a “click”.
4. After the machine has been checked for opening, you can start printing. When starting printing, you should take out the screen of the corresponding model, then fix it on the screen fixing frame, install the printing machine and press the F4 key to lock the screen. When you hear the sound of "啪", you can use the hand to move the screen to see if it can't be pulled out. Then install the scraper and ink return knife and transfer the corresponding process file.
5. After transferring the machine's process file to a new one, the machine must be reset with a new process file. The reset step is to transfer the machine mode to the automatic operation mode and hit the “Cycle reset” button to reset the machine as a whole. Then you can see the reset information in the “Alarm Message”. After the reset is completed, when the temperature of the oven reaches the setting, you can click “Cycle Start” to start the machine.
6. Place the wafer-coated side of the film down into the carrying case, then pour the fully stirred slurry down the screen in the direction of the blade and test it with white paper to ensure the integrity and uniformity of the printed electrode.
7. Adjust the printing parameters so that the printing meets the printing requirements. Then, after the process technician confirms the printing and drying process, press the “Cycle Start” button to run the machine, so that the machine will automatically transfer to the next process in the automatic running state.